The SmartPBX App combines the most common PBX functionality with a beautiful user interface. All services are controlled via API’s, allowing you to extend the App functionality as needed. Within the interface, create, manage and remove services for your users. You can quickly create new client accounts and specify what access you want to provide. Features such as individual fax-to-email boxes, call forwarding and hot-desking are easy to understand and implement.
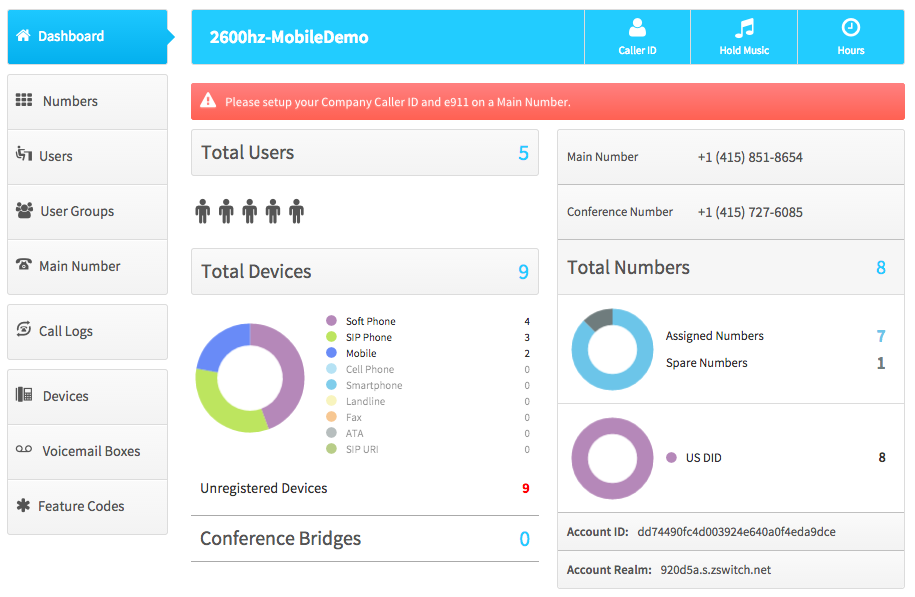
The SmartPBX dashboard provides a comprehensive overview of your entire product offering. Within this dashboard, review the total users, devices and associated phone types, conference bridges, main numbers and conference numbers. Also view the total amount of spare numbers and assigned numbers.
Managing Numbers – Purchase, Port and Assign
Provide each user with their unique direct-dial phone and extension number. Assign a spare number within the Interface, or buy or port numbers and then assign the number. When a number is ported or purchased, it will populate the Spare Numbers tab. You can also set office hours strategy, office holidays, and select the way callers reach clients.
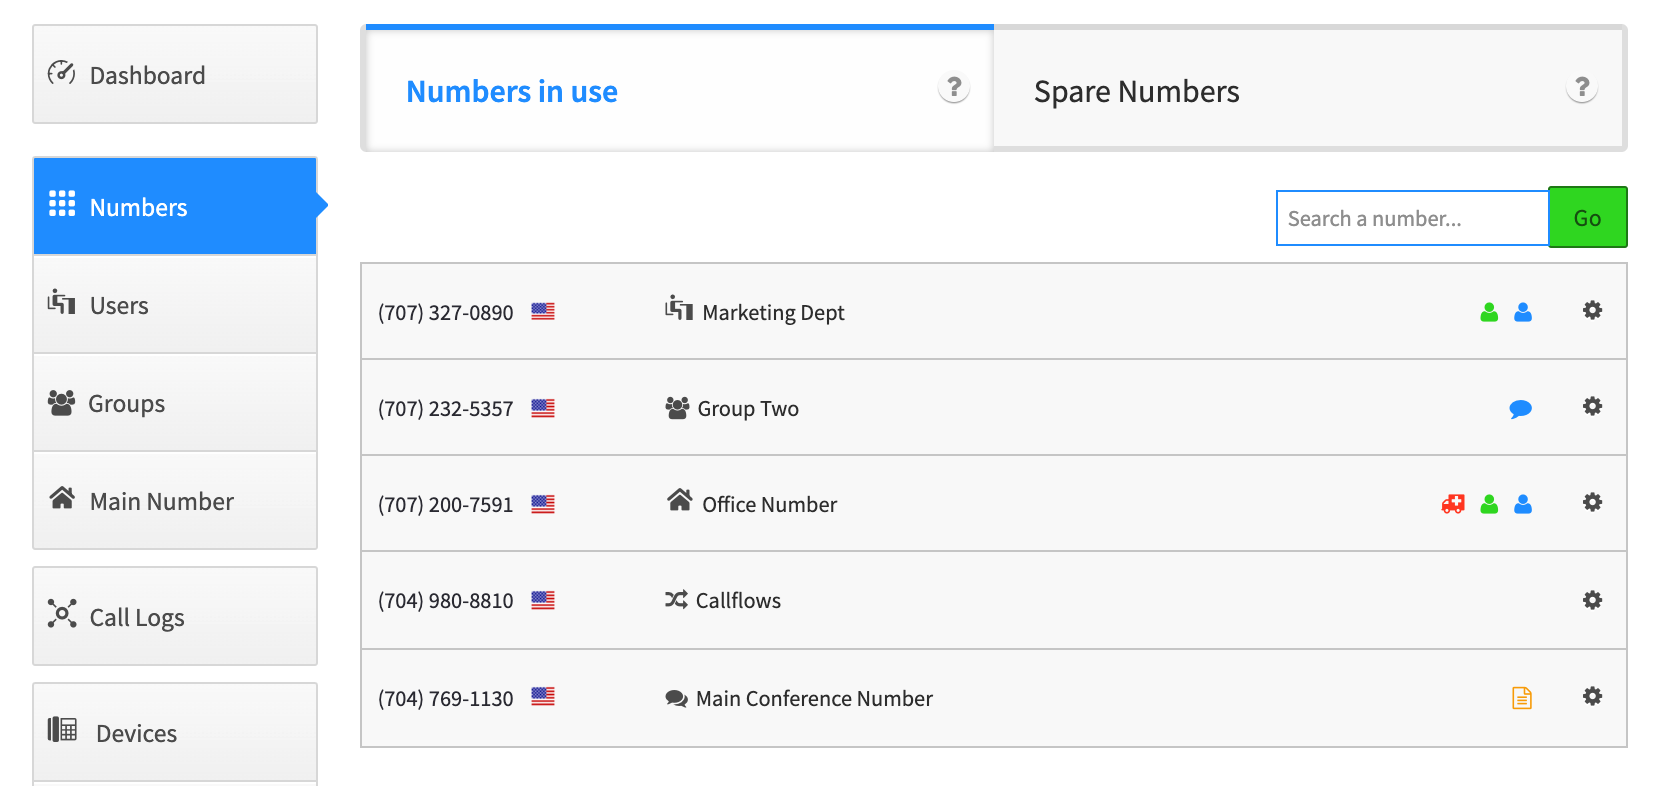
Numbers in Use
This will give you a summary of the current numbers used by your account and who it is assigned to. The icons to the right of each name and number will show what settings have been enabled. You can view and edit these settings by selecting the gear to the far right.
Spare Numbers
This tab will display any numbers available for you to use that you have already purchased, but not yet assigned. You can assign these numbers when you set up a new user.
To Purchase a Phone Number – Optional:
If you want to buy a number, you can select the “Buy” icon that is displayed when the Spare Numbers tab is selected.

Choose whether your number should be a toll-free or a Local number. Then you will see a dialog like below:
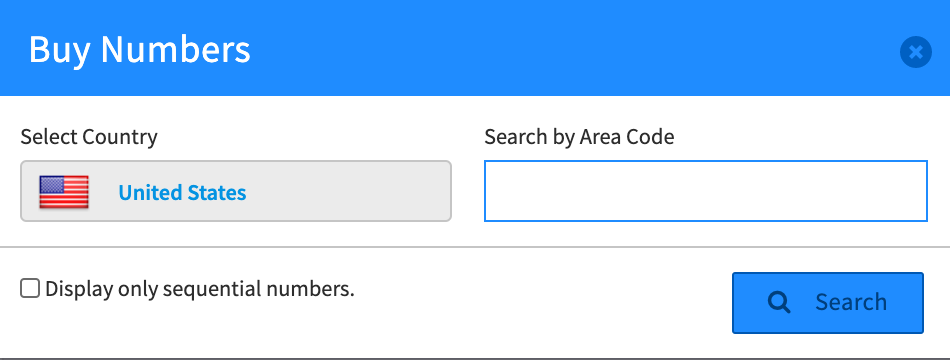
- Search for an available number by city or area code. You can then decide what and how many numbers to purchase.
- Add one number or multiple and then click “Buy Numbers.”
- The number will be added to the “Spare Numbers” tab, which you will need to assign a number to a user.
To Port a Phone Number – Optional:
You can also choose to Port an existing number you own to your new account.
NOTE:
- This process can take up to two weeks, so make sure to give yourself time.
- The link will forward you to our Porting manager app. This steps you though every detail and provides a tracking system to monitor the port process. We strongly recommend you refer to our
- Click on the “Numbers” tab of SmartPBX, just left of the dashboard.
- Within the “Numbers” dashboard, click on the “Spare Numbers” button for the specific user.
- Click on to the “Port” button. You can also buy a number as well.
- To port a number, click on the “Start New Transfer (port)” button
- Type in one number or paste multiple numbers and select “Add.”
- After you add the numbers you would like to port, you can new view the numbers to be ported, which will be split according to carrier. You will need to collect the user’s bill to show that they are the rightful owner of the number and download the “Letter of Authorization.” Upload the “Phone Bill” and the “Letter of Authorization” signed by your user.
- Read and agree with the following and select “Next.”
- Select the email address to notify when the transfer is complete, the date you would like number transferred, and complete the order. Add temporary numbers for users in case they would like to have an active line during the porting process.
- The number will be added to the “Spare Numbers” tab, which you will need to assign a number to a user.
Adding Users
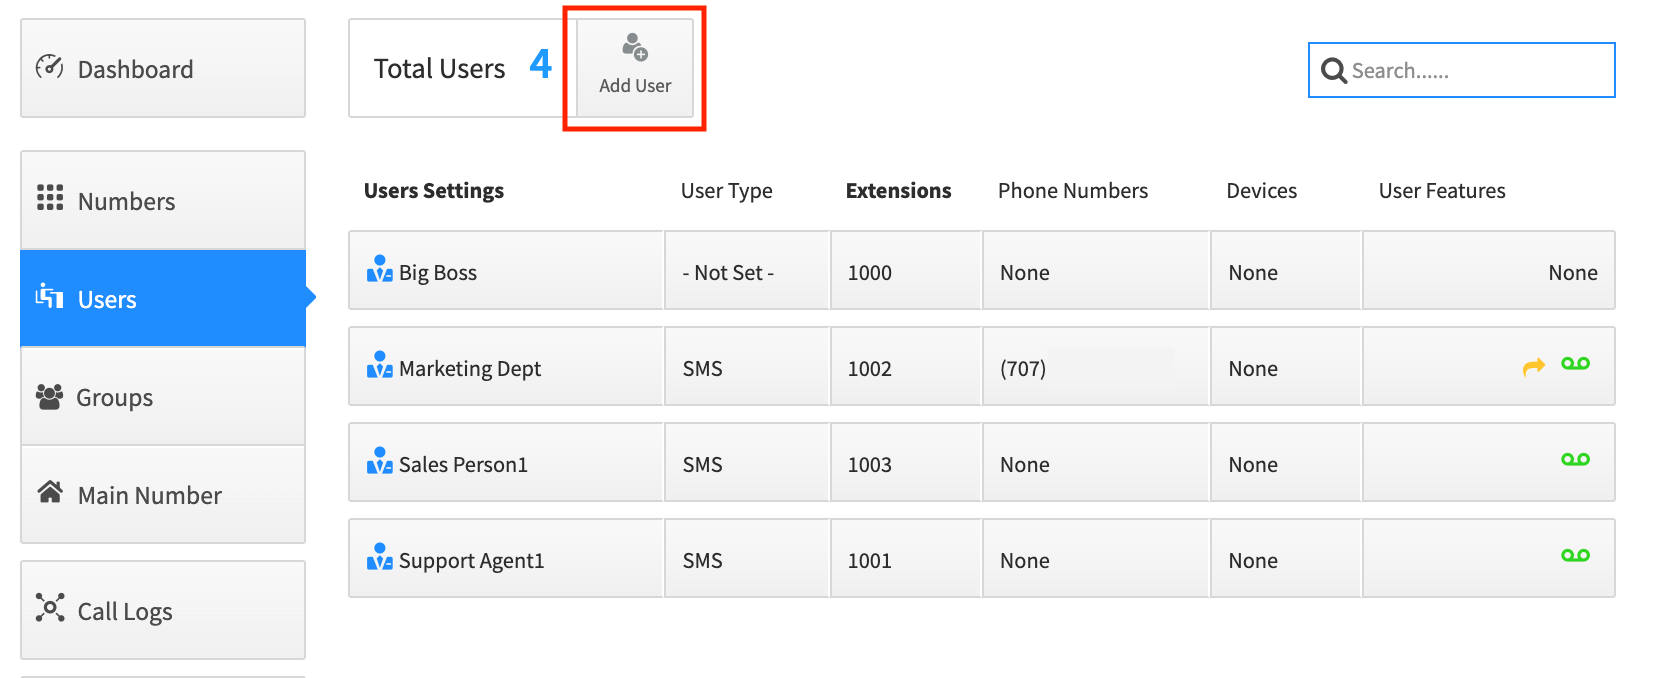
Once you have your list of numbers you can add users and assign both numbers and devices. If you choose the “Add User” button at the top, you will see a dialog box to get you started.
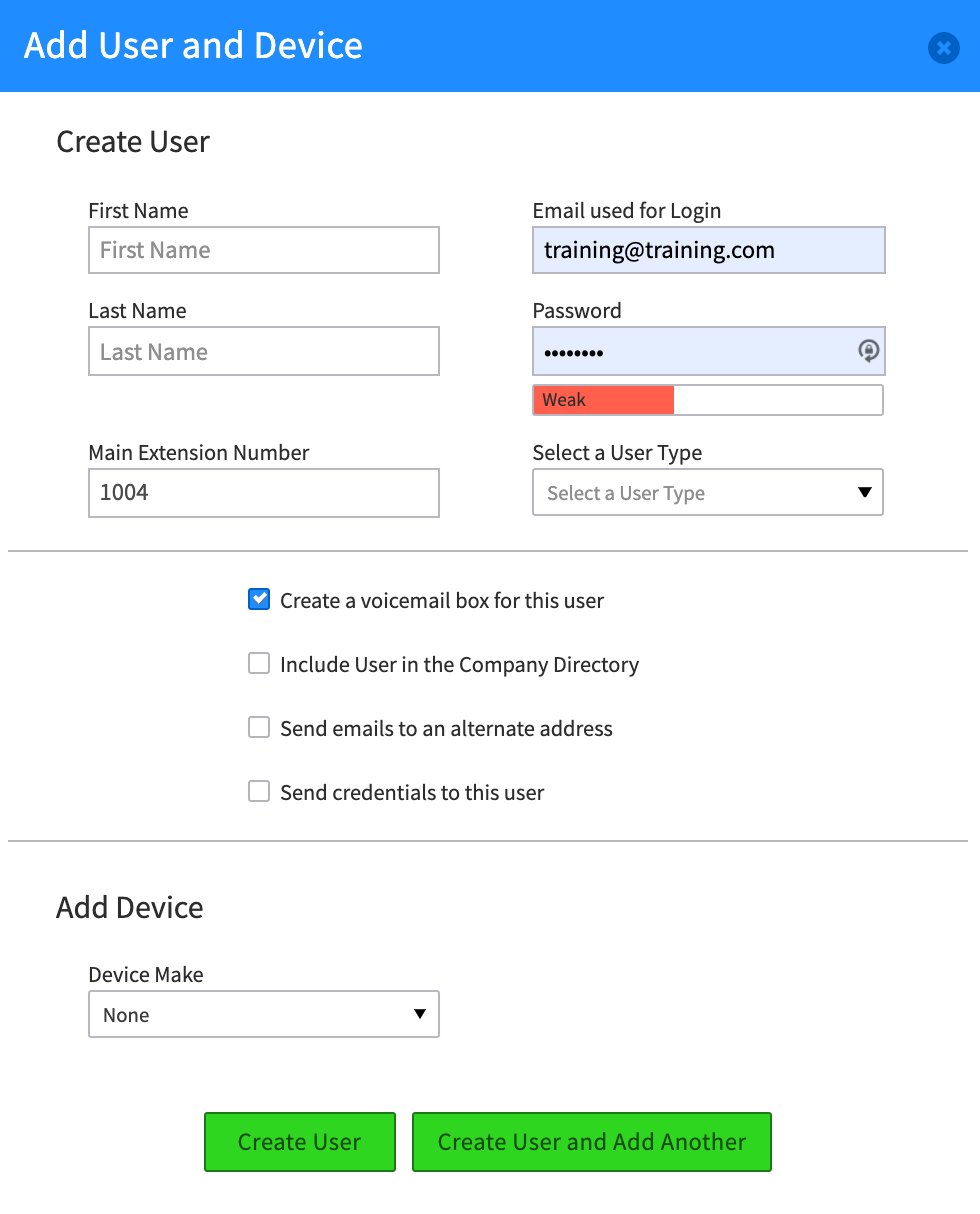
Assign Numbers to a User Already Added
If you have added users before you purchased your numbers, you can follow the steps below
Within the “Users” tab, search for the user you want to add/update, and click on the “Phone Numbers” button for the specific user.

- Click on the “Add from Spare Numbers” button.
- Select what Spare Number you would like assigned to the user.
- Once you have chosen a spare number click “Add Selected Numbers.” This will link the number with the user in a few seconds.
Provision Devices
With provisioning in SmartPBX, you can handle many devices from multiple manufactures. The UI comes pre-populated with supported manufacturers and devices. If you had purchased a device through a certified manufacturer, you can provision a supported device by entering the Mac address and creating a name. If you did not, you will have to perform a few additional steps. If you do not have a supported device, you will have to manually provision your device.
To Autoprovision a device:
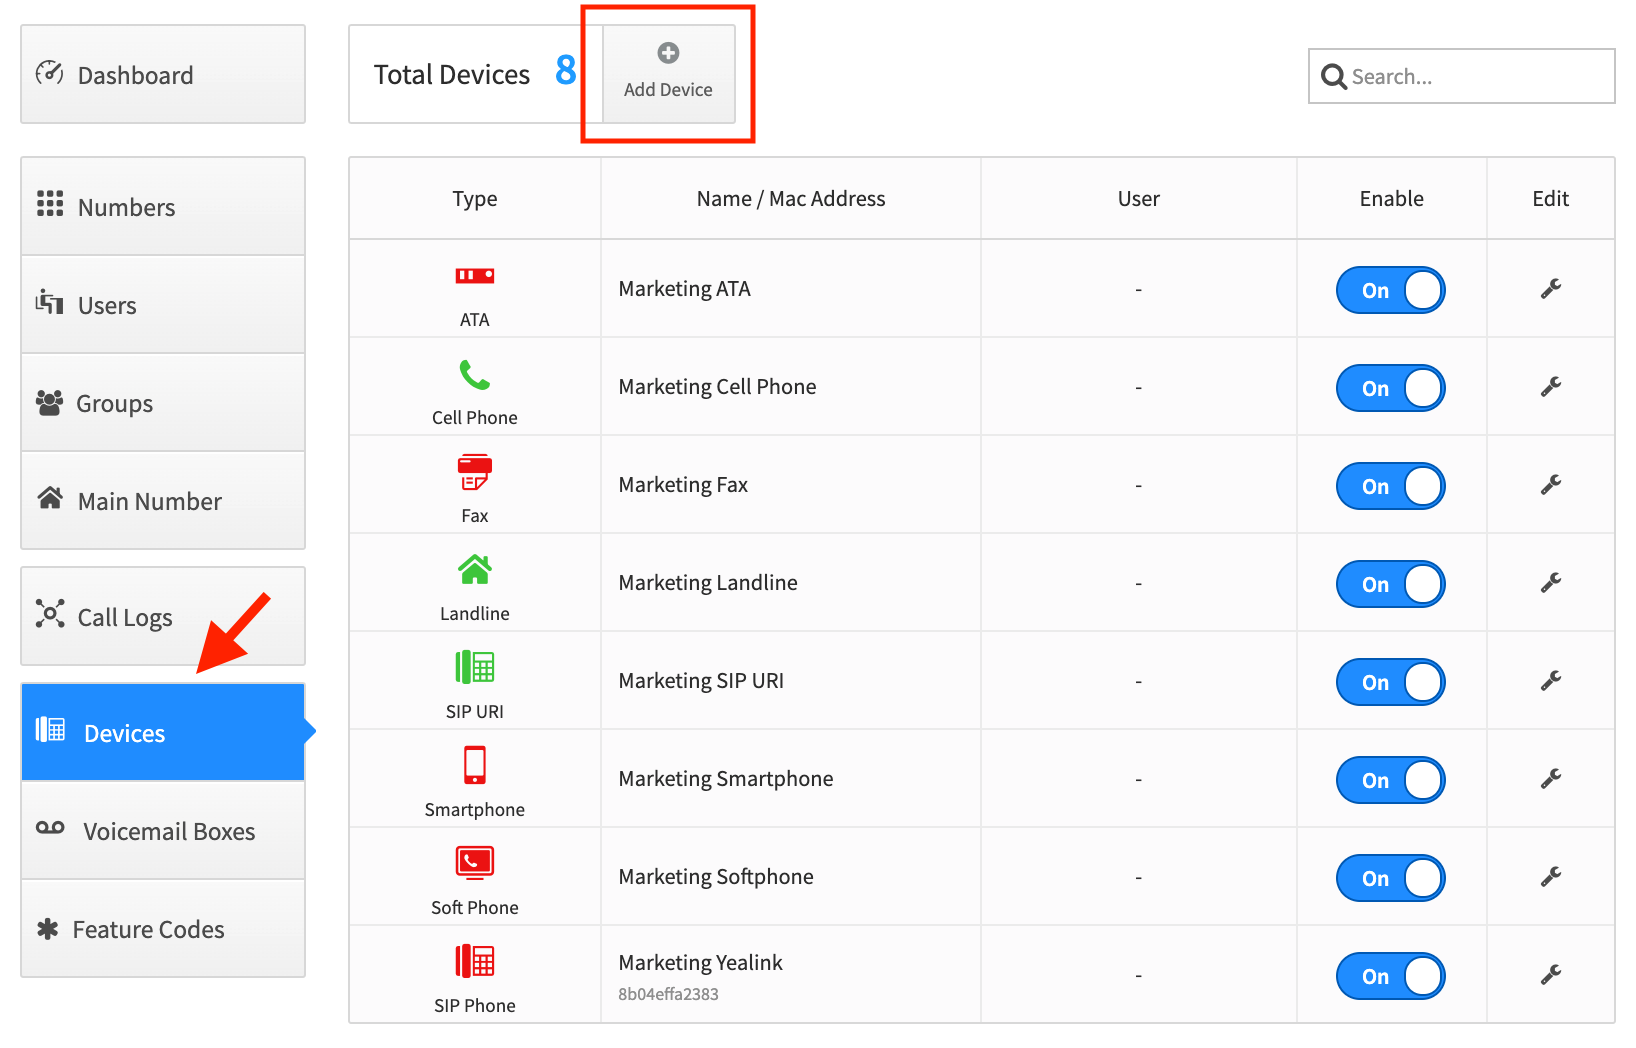
- Click on the “Add Device” button within the “Devices” section of SmartPBX
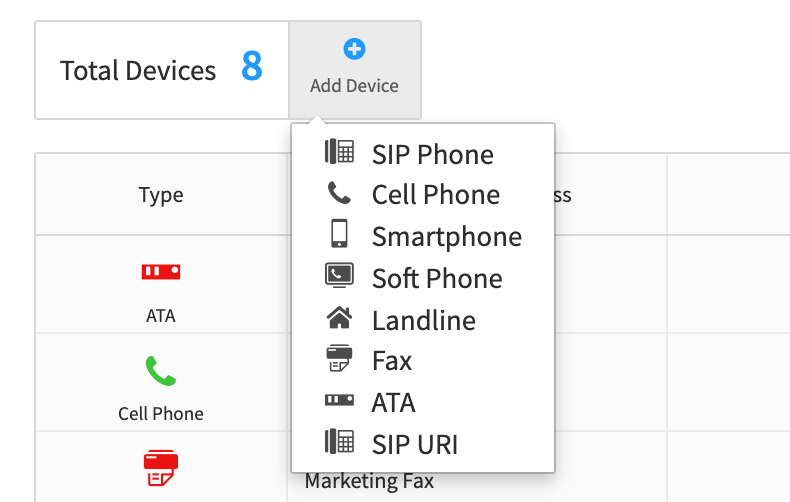
2. Select what type of device you would like to add. In this example, we will add a SIP phone.
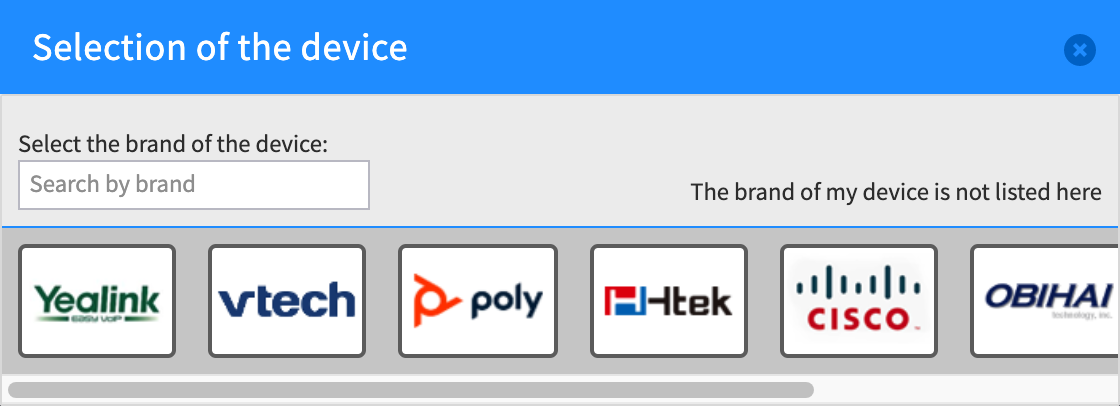
3. Select the logo of the manufacturer for the device (you may need to scroll or search to find yours)
4. Select the model, which will be displayed along with a picture for easy identification. If you do not see your manufacturer or model, you will need to manually provision your device.
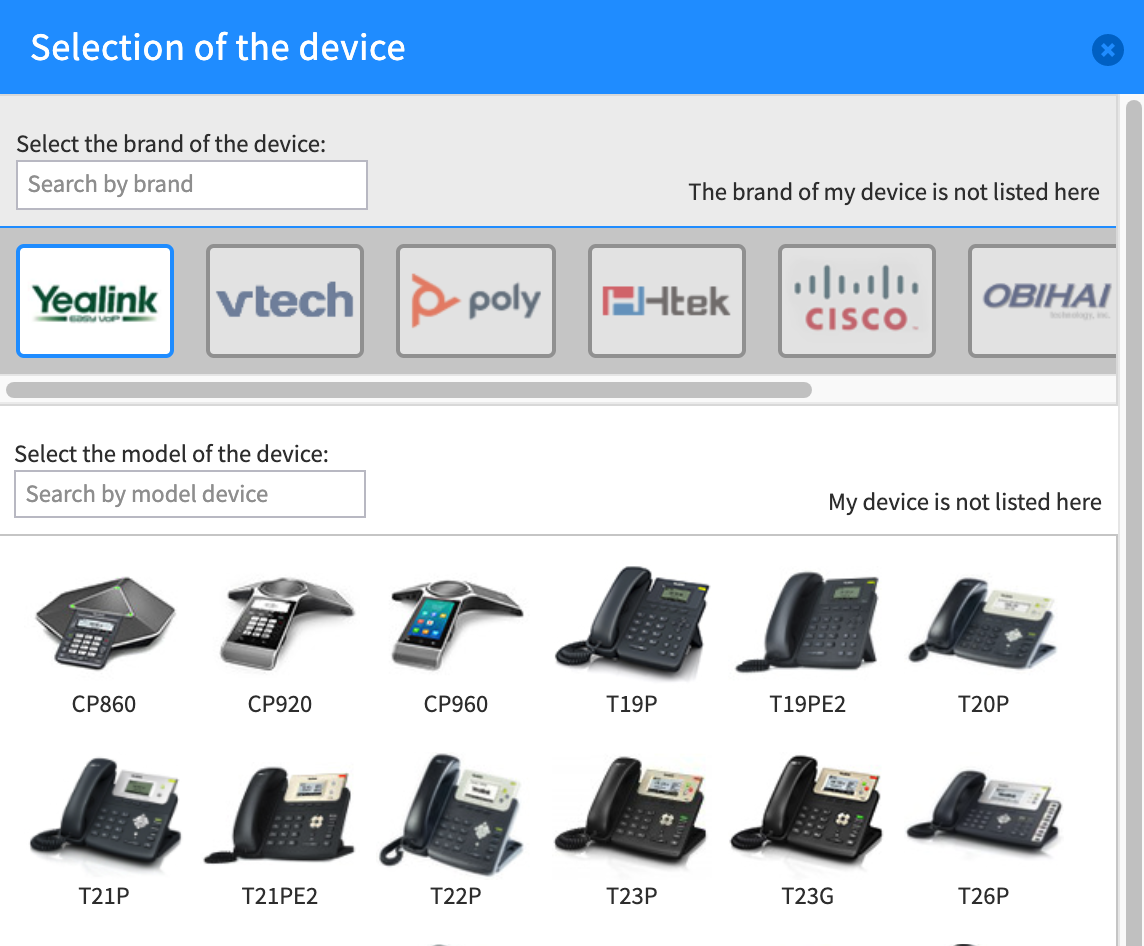
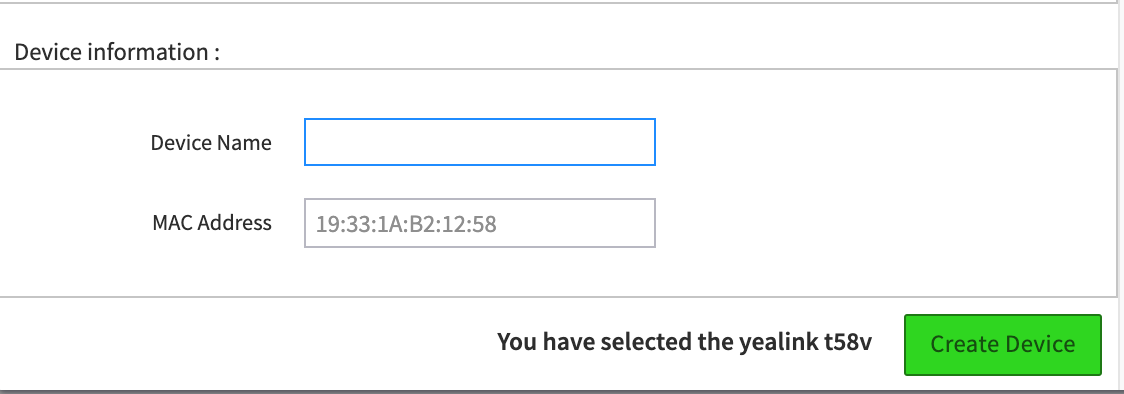
5. At the bottom of the device model selection window, enter a device name and the MAC address. The MAC address is typically found on the back of your SIP device.
Auto-Provision Devices varies among manufacturers, so you need to go into the manufacturer’s website to auto-provision each device. To do this, turn on your SIP device and enter the IP Address into your web browser.
If you are using a Yealink IP Phone, auto provisioning is handled automatically. There is nothing you need to do beyond preforming a factory default on the device.
