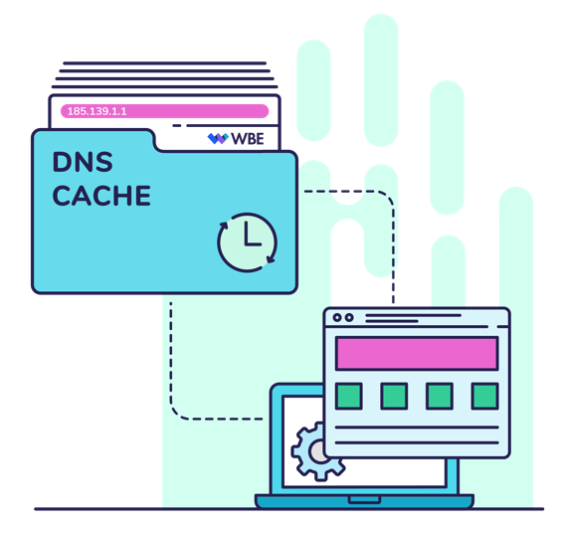
Flushing your DNS cache is an easy and helpful way to troubleshoot DNS and connectivity errors, as well as keeping your local cache more secure. In this article, I’ll be covering what DNS cache is, how it works, and why you should flush it. You’ll also learn the commands to clear your local DNS cache for Windows and Mac. This applies whether you are using a home or office computer.
What is DNS Caching and How Does it Work
Anytime you enter a URL into your web browser, a DNS lookup process is initiated. This usually involves several different servers (recursive, root, top-level domain (TLD), and authoritative nameservers), but client-side (your device) requests can also be answered by your browser or the recursive resolver if the information requested is in cache.
A DNS cache is like a memory bank for website information. Any recently visited site is cached until time to live (TTL) for the domain’s DNS records have expired. Once TTL has expired for a record, changes need to propagate globally, across all servers, and the entire lookup process begins again.
Why You Should Flush Your DNS Cache
There are several reasons to flush your DNS cache every so often. The most common of which is to ensure information in your local cache is up-to-date, for troubleshooting DNS errors when trying to access certain sites, and for protection from DNS cache poisoning and spoofing.
DNS Record Propagation
Because it can take time for DNS record updates to propagate across all servers worldwide—as long as 24-48 hours in some cases—information in cache can become outdated. This can cause certain sites or applications to misbehave. It can also cause websites to display incorrectly or show old images and text. Clearing your web browser cache can help with this as well, but isn’t always enough.
DNS Server Not Responding Errors
Flushing your DNS cache can also help with common connectivity errors such as “DNS server not responding.” If a provider or domain isn’t experiencing an outage or DNS-related issue, there’s a strong chance that the problem is on the client side. Just clearing the DNS cache can often solve this dilemma.
DNS Cache Poisoning
Security is an important reason to flush your DNS cache. Many end users don’t realize that DNS caches can be intercepted by hackers. This is a major security threat because if cybercriminals can access the cache, they are able to manipulate IP addresses or even add new ones. When this happens, users are redirected to a fake site that was created to capture personal and sensitive information. This is called DNS cache poisoning, which is a form of spoofing. Once you flush your cache and you try accessing a website, resolvers will need to acquire an authoritative answer for your request, which can help thwart attacks like this.
How to Flush DNS Server Cache (Windows)
To flush your DNS cache on Windows, you can use the Command Prompt or Powershell.
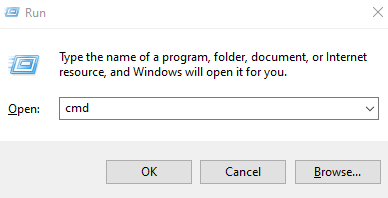
To access Windows Command Prompt, press Win + R to pull up the Run command. Type cmd and click okay.
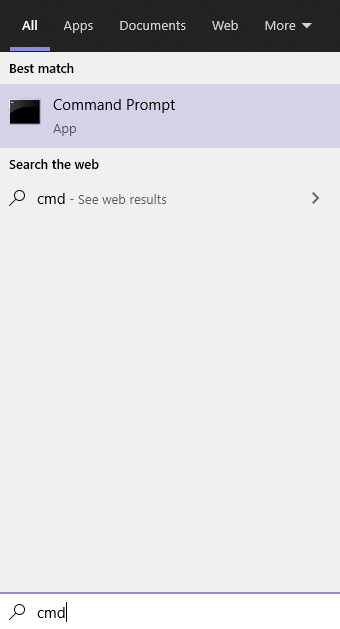
Alternatively, you can click on the search icon in your taskbar and type “command prompt” or “cmd.” This should put the app at the top of the search window under “Best match.”
View Current DNS Cache
If you’d like to see what’s currently in your DNS cache before clearing it, you can use the following command:
Command Prompt:
Follow the steps below to view your DNS cache in Windows Prompt:
- Open CMD
- Type in “ipconfig /displaydns” (without quotes) in the command line
- Press enter to complete
This will display a long list of items in your DNS cache.
PowerShell
View cache in PowerShell with the following steps:
- Open PowerShell
- Type in “Get-DnsClientCache” (without quotes) in the command line
- Press enter to complete
Clear DNS Cache with Command Prompt
Flushing your DNS cache is straightforward and simple. In the Command line, enter the following:
- Open CMD
- Type in “ipconfig/flushdns” (without quotes) in the command line
- Press Enter to complete.
You should now see the message below:
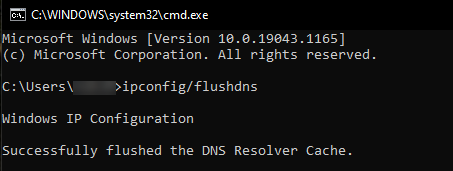
This will clear out the DNS cache on the client side (local cache).
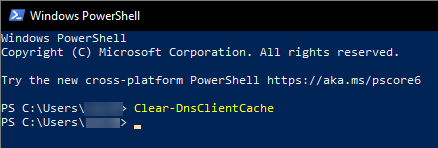
Clear DNS Cache with PowerShell
If you’re a Windows PowerShell user, you’ll need to run a cmdlet:
- Open PowerShell
- Type in “Clear-DnsClientCache” (without quotes) in the command line
- Press Enter to complete
How to Flush DNS Server Cache (Mac)
To Flush your DNS cache on Mac, follow the steps below:
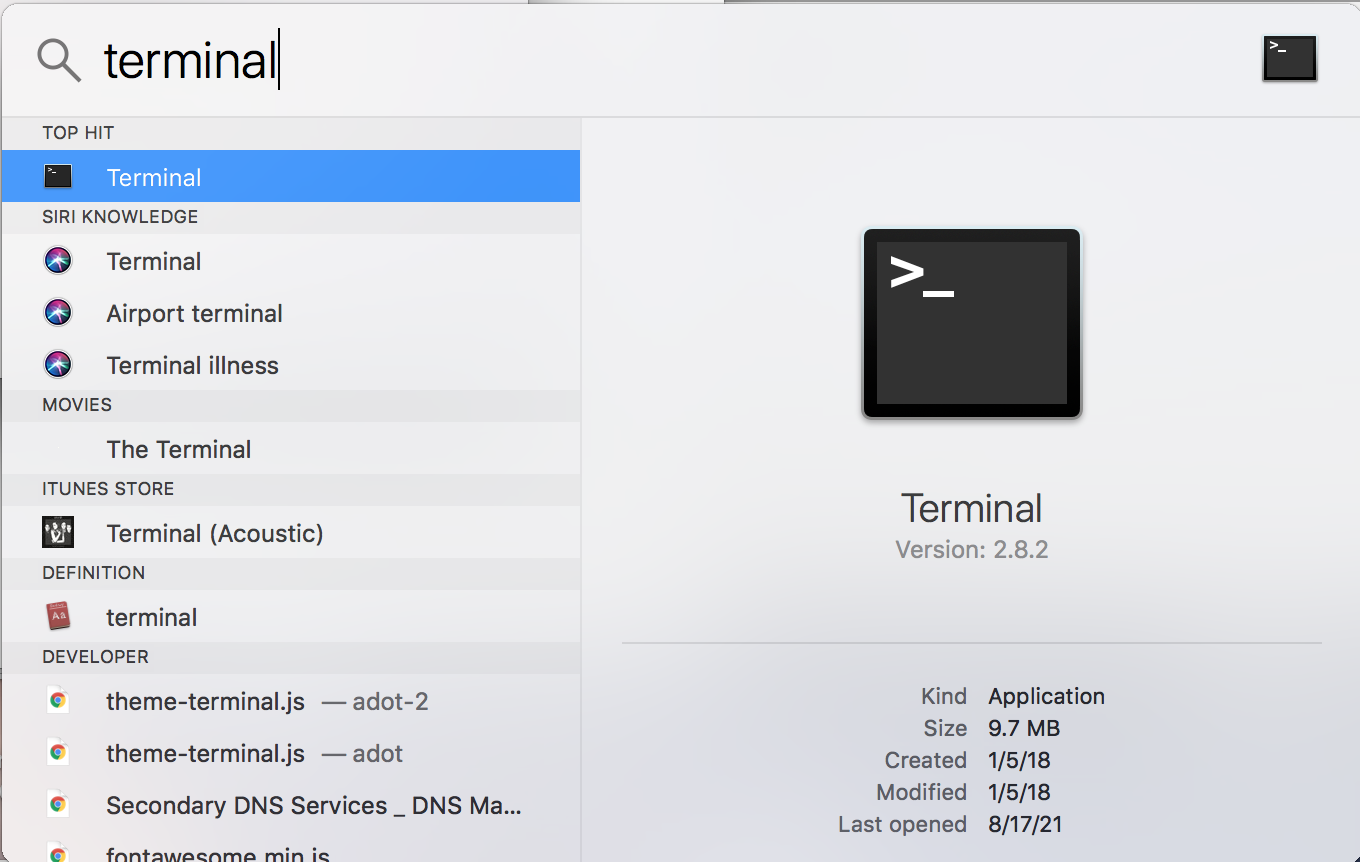
- Open the terminal by using Spotlight Search or by pressing Command + Space and then type Terminal.
- Double click the application icon for Terminal to open it.
- Type in “sudo dscacheutil -flushcache;sudo killall -HUP mDNSResponder” without quotes
- Enter your Mac’s password
- Press Enter to complete
After using this command in Mac, you won’t see any type of success message. You will only be brought to a new command line.

DNS Cache Cleared
And that’s it. You have now successfully cleared your local DNS cache. You can do this as often as you want to as it has no negative impact on your system. Hopefully, this will fix any issues you may be experiencing and make your website connections more secure. If a related problem still persists, at least you’ve narrowed down potential causes.
