With provisioning in SmartPBX, you can handle many devices from multiple manufactures. The UI comes pre-populated with supported manufacturers and devices. If you had purchased a device through a certified manufacturer, you can provision a supported device by entering the Mac address and creating a name. If you did not, you will have to perform a few additional steps. If you do not have a supported device, you will have to manually provision your device.
To Autoprovision a device:
- Click on the “Add Device” button within the “Devices” section of SmartPBX
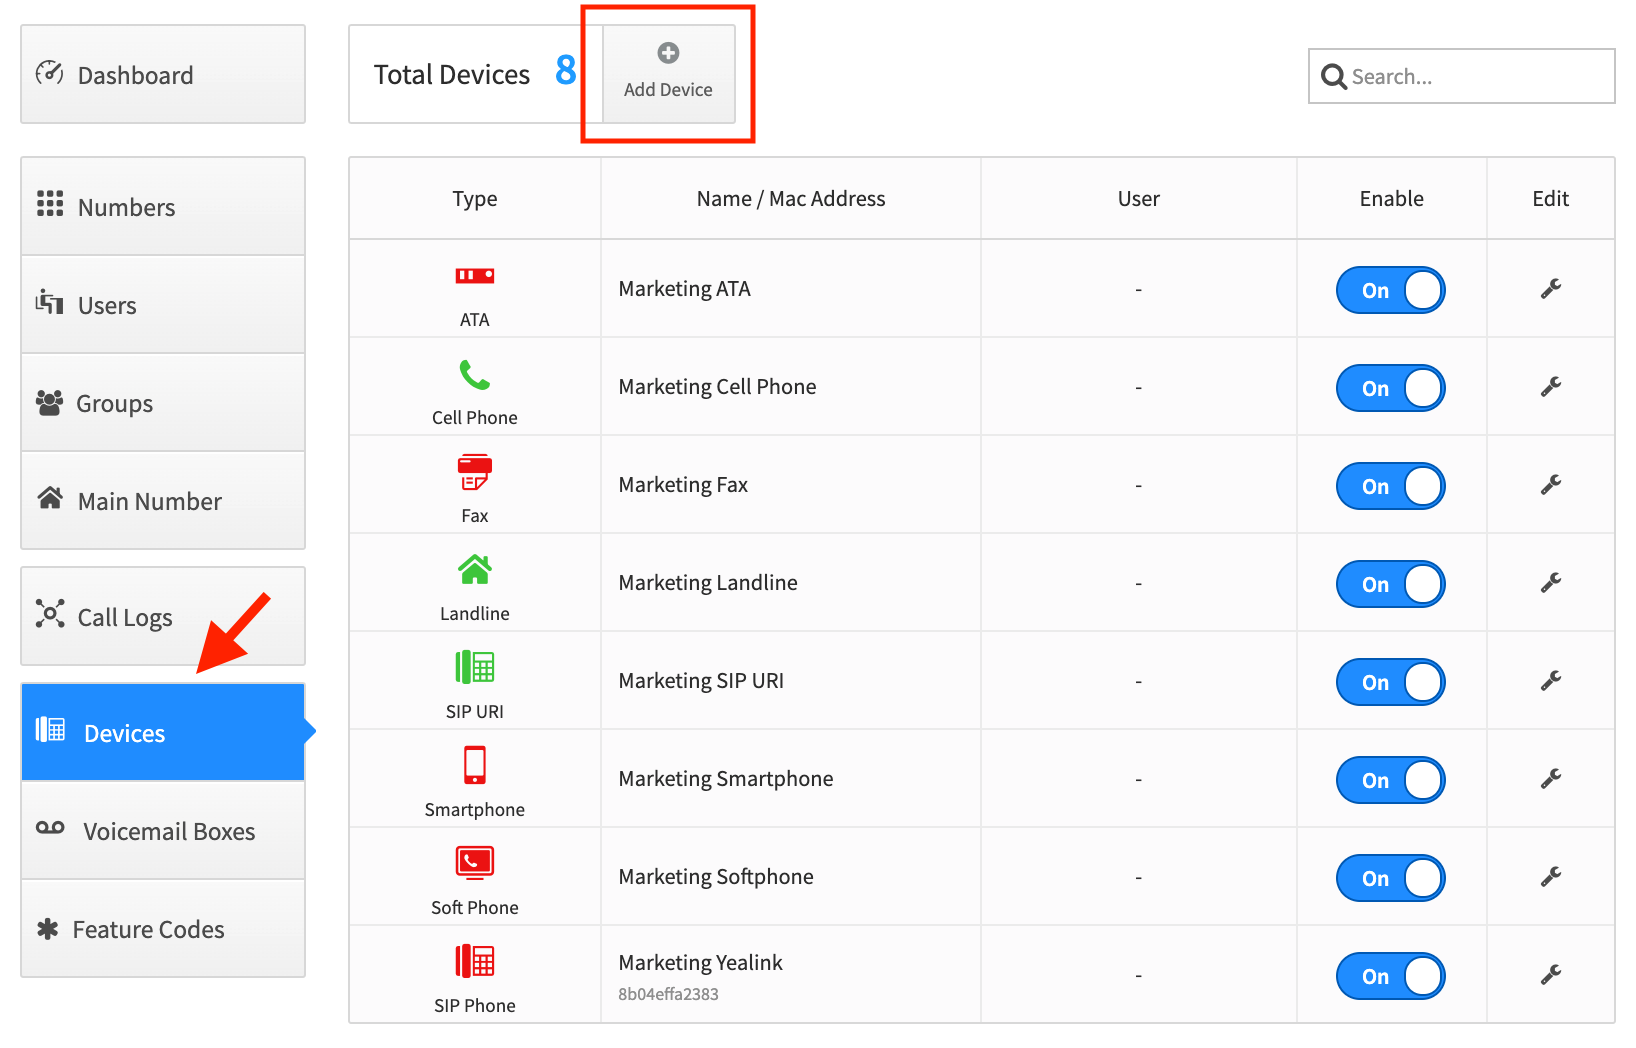
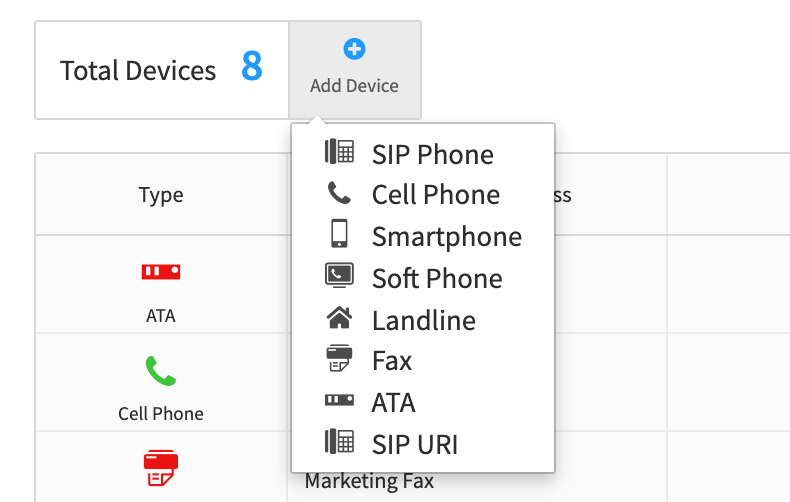
2. Select what type of device you would like to add. In this example, we will add a SIP phone.
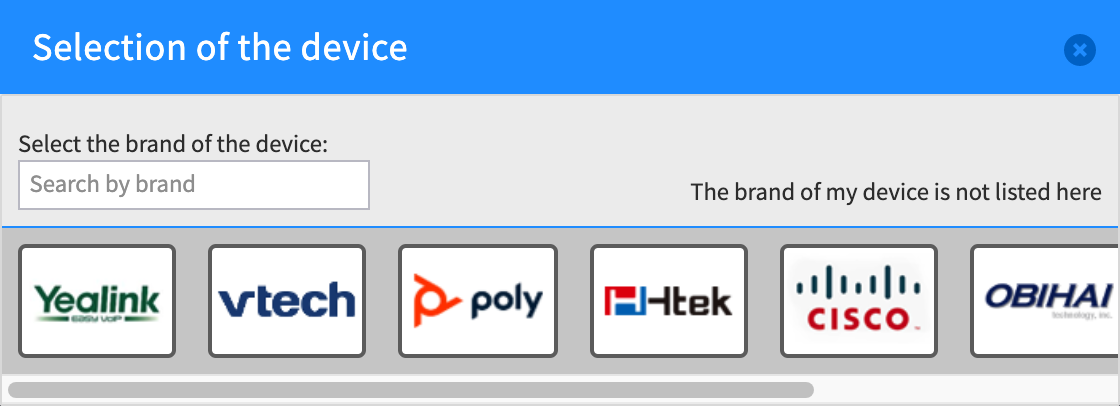
3. Select the logo of the manufacturer for the device (you may need to scroll or search to find yours)
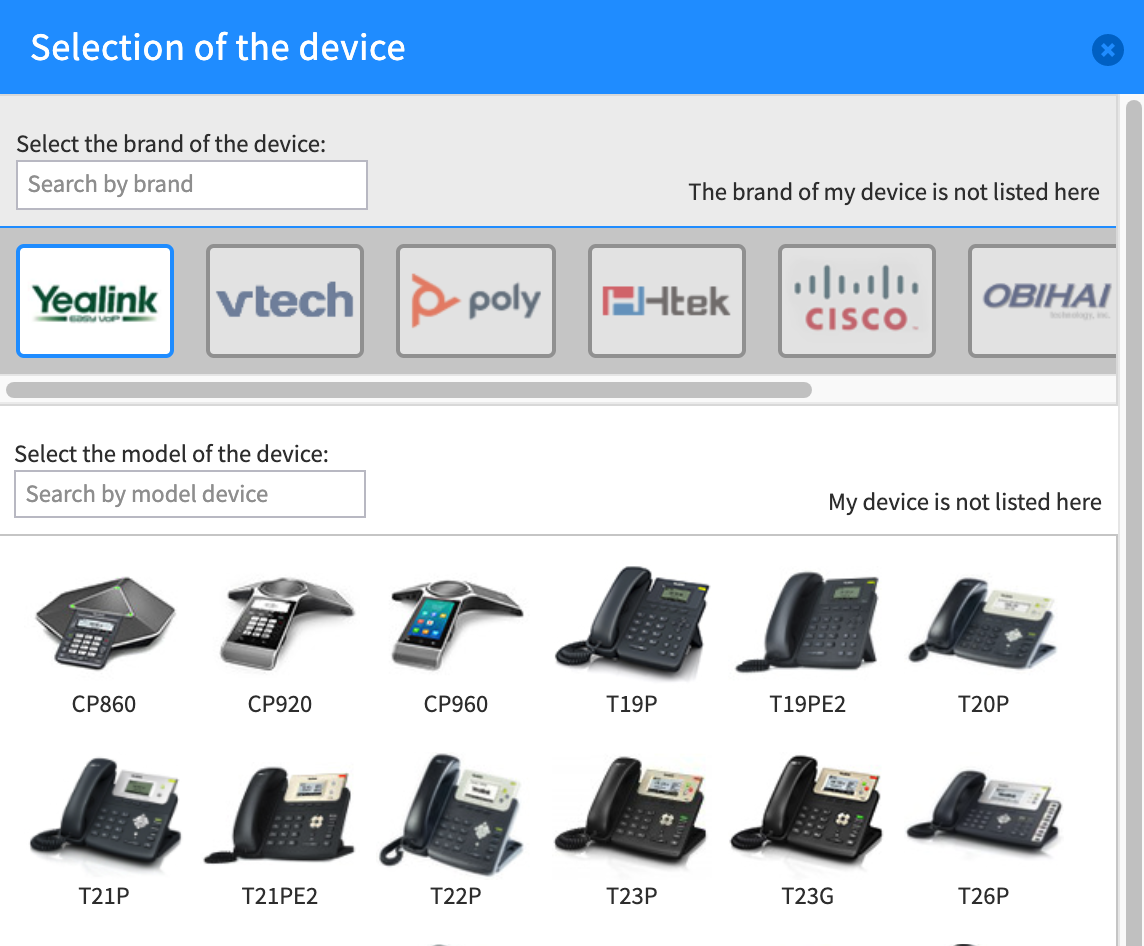
4. Select the model, which will be displayed along with a picture for easy identification. If you do not see your manufacturer or model, you will need to manually provision your device.
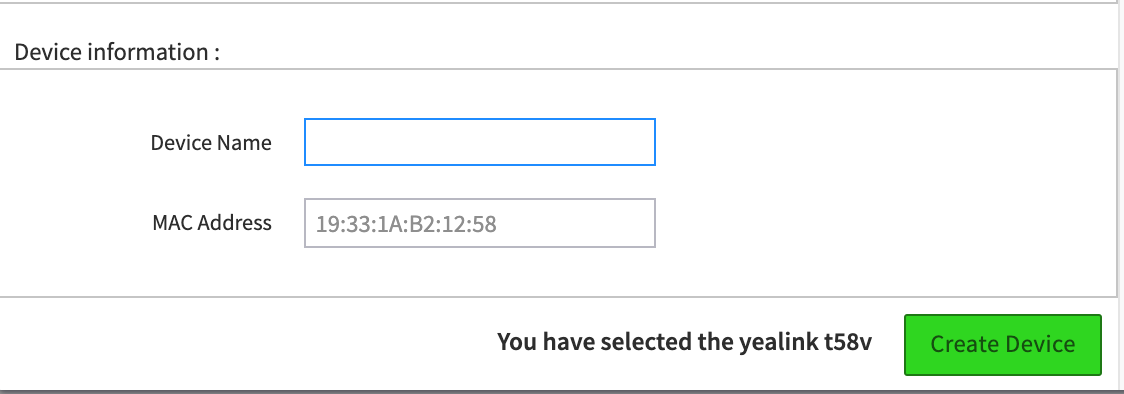
5. At the bottom of the device model selection window, enter a device name and the MAC address. The MAC address is typically found on the back of your SIP device.
Auto-Provision Devices varies among manufacturers, so you need to go into the manufacturer’s website to auto-provision each device. To do this, turn on your SIP device and enter the IP Address into your web browser.
If you are using a Yealink IP Phone, auto provisioning is handled automatically. There is nothing you need to do beyond preforming a factory default on the device.
