The Faxbox feature allows individual users send and receive faxes via email. The feature is very simple to configure.
From the Users section in SmartPBX, you should see a complete list of all of your provisioned users.
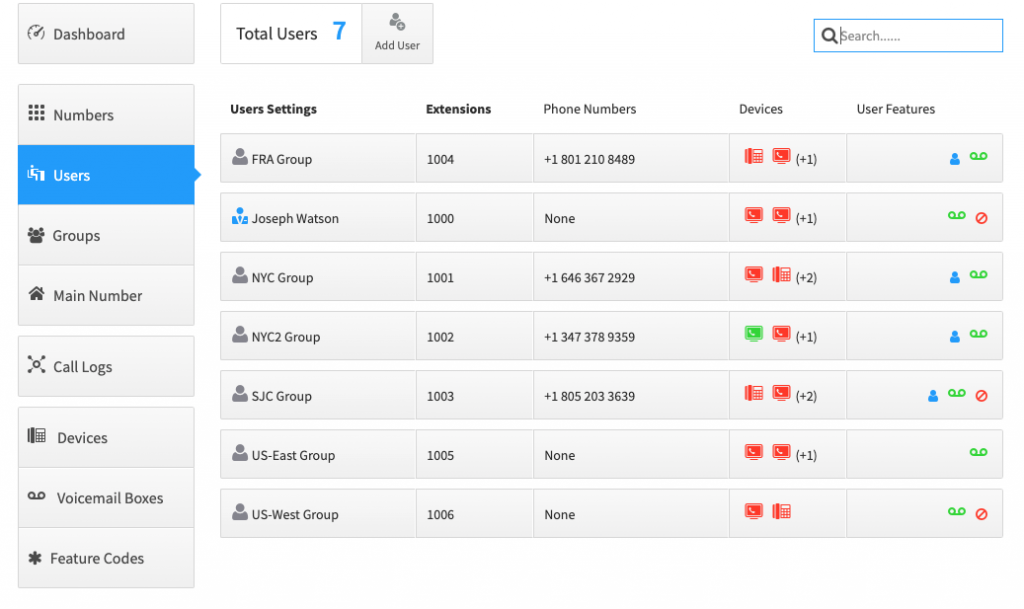
Next click in the “User Features” section to display the enabled features configured for a user.
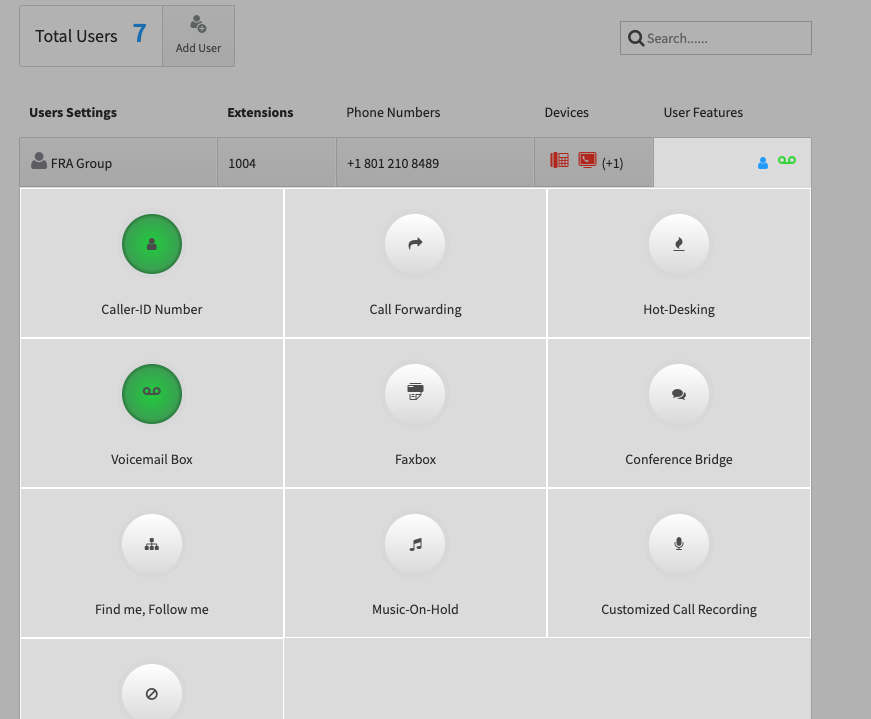
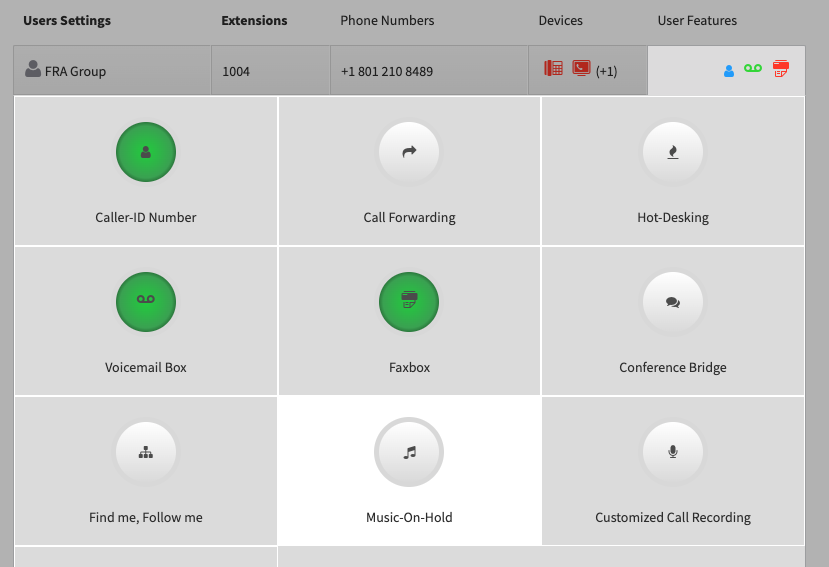
Next Select the Faxbox feature, and toggle the “disable” switch so it reads “enabled”. Next you will need to provision a telephone number to the user’s faxbox. You can select a number from you existing inventory of telephone numbers, or purchase a new phone.
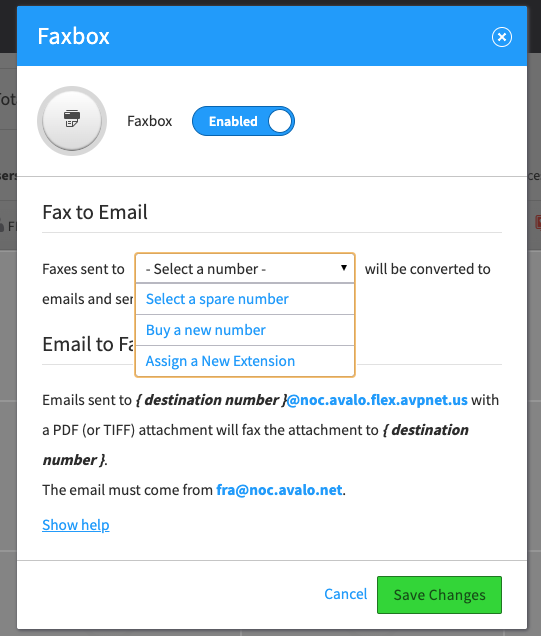
After you have selected the telephone number from your spare numbers or you have purchased a new number, your faxbox is basically configured.
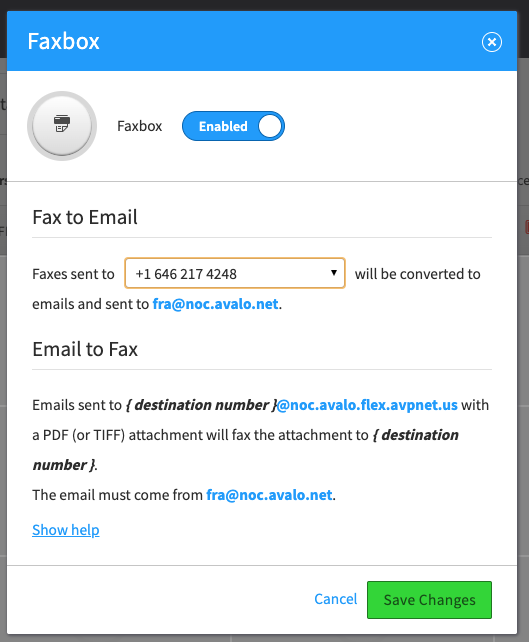
Its important to note, that faxes can only be sent from the registered email address for the user you are provisioning the feature too. This is also the email address faxes will be sent to when received. Please make sure you read the “Fax to Email” and “Email to Fax” instructions provided when you configure the feature.
Finally click on the “Save Changes Button”
If the feature was successfully enalbed, the Faxbox feature will now be green, and a Red fax machine will show up in the Users Features.
Instructions on how to faxes will be received and converted to a PDF file and attached to an email are included in the setup screen.
The same goes for instructions on how to send a fax. Example:
If we want to send a fax there are a few bits of information we now need, They are:
- your account realm
- the phone number you want to send the fax too
- a PDF or TIFF file which will serve as the document we want to fax
- which email address is configured on the user you provisioned the fax box too
In our example, the realm is noc.avalo.flex.avpnet.us, and we would like to send a fax to 15705551212.
To do so we will create a new email from the email address we configured on the user the faxbox is provisioned too, attach the PDF or TIFF file to the new email and address it To: 15705551212@noc.avalo.flex.avpnet.us.
Afterwards if the fax was successfully sent, an email confirmation will be sent to you, otherwise you will get a failure notification.
